We have three new updates in this release that expand the power of Convex’s platform:
- Actions
- Environment Variables
- Dashboard Changes
Actions allow you to write JavaScript or TypeScript functions that include non-deterministic logic like interacting with third parties. Environment variables let you store and access configuration in your Convex functions. We’ve also updated our dashboard to make it more powerful and easier to use. You can learn about these new features below.
If you have any feedback or questions, let us know in the Convex Discord Community. We’re eager to help!
Actions
Previously, the core of all Convex apps were their query and mutation functions. These functions are written in JavaScript or TypeScript and read and write data within Convex. Query and mutation functions power a lot of Convex’s magic; Convex’s reactivity, caching, and strong consistency are all built on top of query and mutation functions.
Query and mutation functions have one problem: they must be deterministic. Convex will rerun query and mutation functions and expects to get the same results. Because of this, queries and mutations are run in a limited environment. They can’t load data with fetch or read files with fs.
Actions are here to fill this gap. Actions are functions run in a Node.js environment within your Convex deployment. They have access to all of the standard Node.js APIs and can use any compatible libraries. Actions interact with the database indirectly by calling query and mutation functions.
Now you can easily integrate third-party services into your app, like sending welcome emails with SendGrid or saving billing info with Stripe.
Here's an example of an action that queries GIPHY for an embed url and saves it using a mutation:
import fetch from "node-fetch";
import { action } from "../_generated/server";
import { giphyUrl, GiphyResponse } from "./giphy";

// Post a GIF chat message corresponding to the query string.
export default action(async ({ mutation }, query: string, author: string) => {
  // Fetch GIF url from GIPHY.
  const data = await fetch(giphyUrl(query));
  const json: GiphyResponse = await data.json();
  const gif_embed_url = json.data.embed_url;

  // Write GIF url to Convex.
  await mutation("sendMessage", "giphy", gif_embed_url, author);
});
To learn more about actions, check out the docs.
Environment Variables
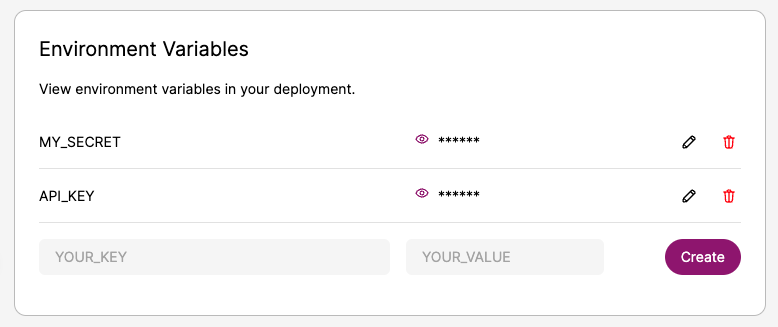
Environment variables are key-value pairs that are useful for storing values you wouldn't want to put in code or in a table, such as a secret (e.g. an API key). You can store environment variables in Convex through the dashboard, and you can access them in functions using process.env.
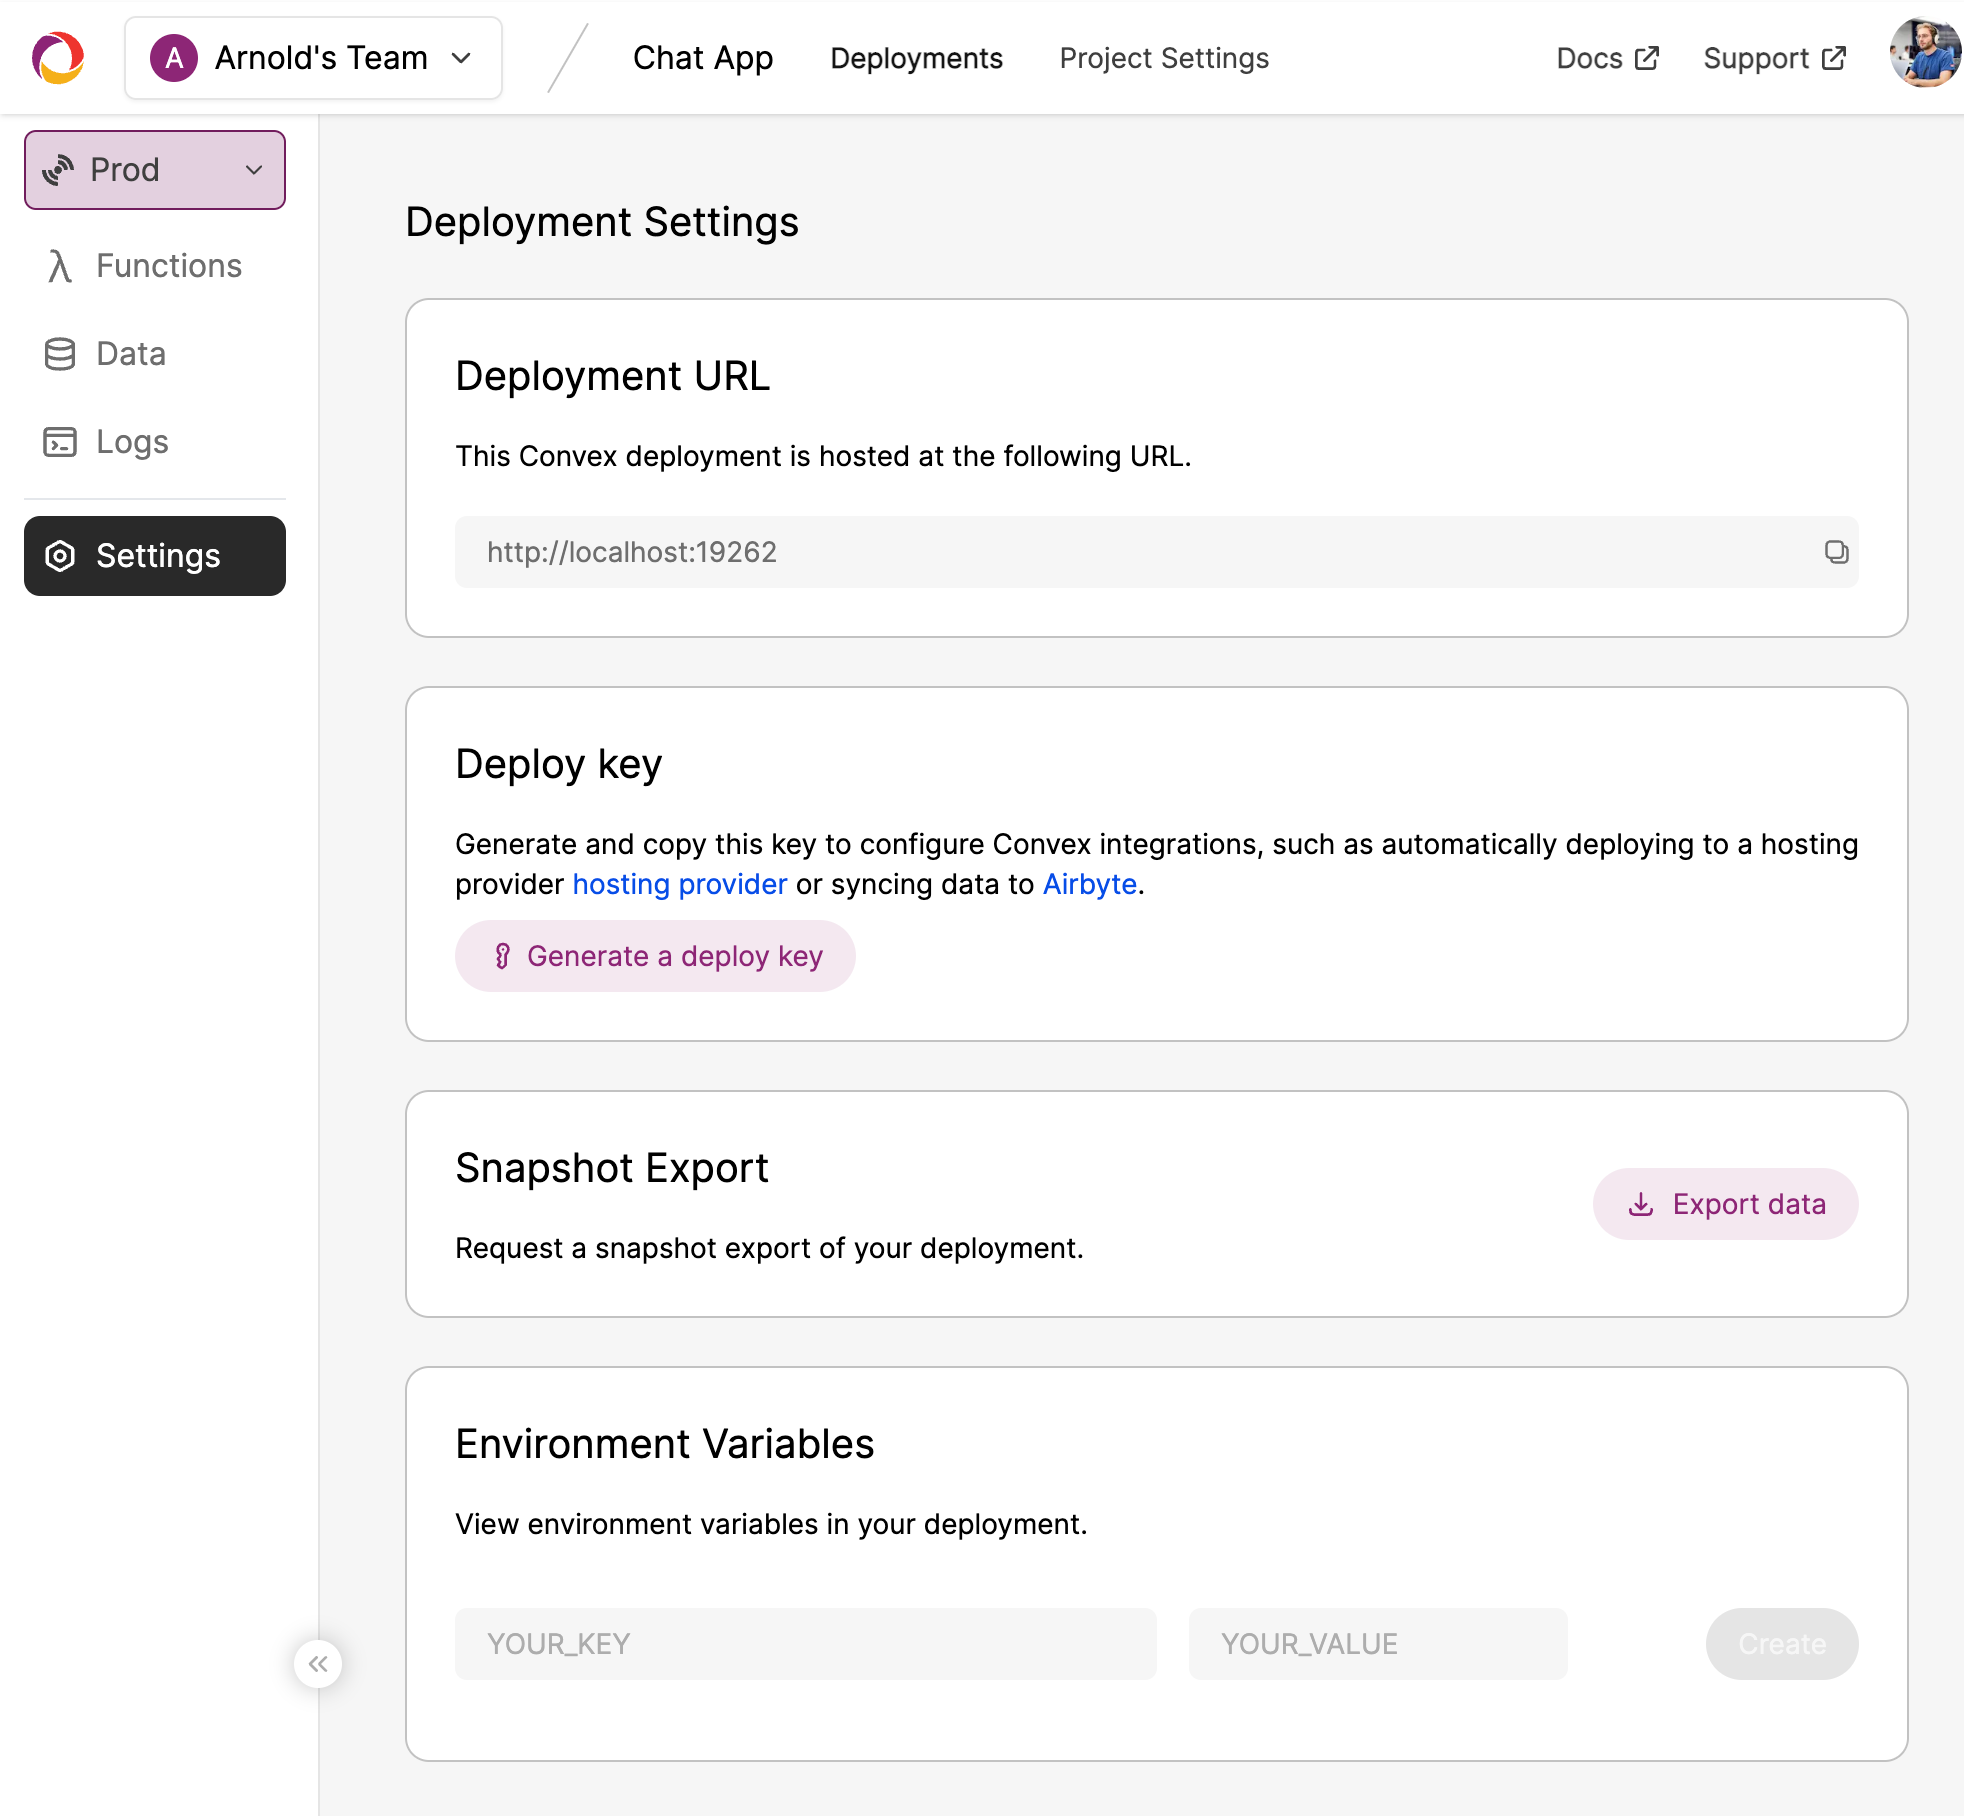
To create an environment variable, go to “Deployment Settings” in the dashboard:

To read an environment variable, access process.env.[VARIABLE_NAME] in an action, mutation, or query function. Here’s an example of using a GIPHY API key stored in an environment variable:
function giphyUrl(query: string) {
  return (
    "<https://api.giphy.com/v1/gifs/translate?api_key=>" +
    process.env.GIPHY_KEY +
    "&s=" +
    encodeURIComponent(query)
  );
}
There’s more information on environment variables in the docs.
Dashboard Changes
This release also includes a number of new features and changes to the Convex dashboard.
Adding new tables and documents
You can now create new tables and add documents to your tables directly from the dashboard! Use this feature to add test data or try out a new schema.
At this time, you may add documents with primitive fields (numbers, strings, and booleans), with support for more types coming soon!
Deployment switching has moved
We’ve gotten some feedback that the behavior and location of the “deployment switcher” (switching between the “Production” and “Development” environments in your project), was a little confusing!
To address this, the deployment switcher has been moved into the deployment sidebar, and is available both when the sidebar is expanded and collapsed.
Separate project and deployment settings
Previously, project and deployment settings were located in the “Deployment Settings” page reachable by clicking on the “Settings” button on the deployment sidebar.
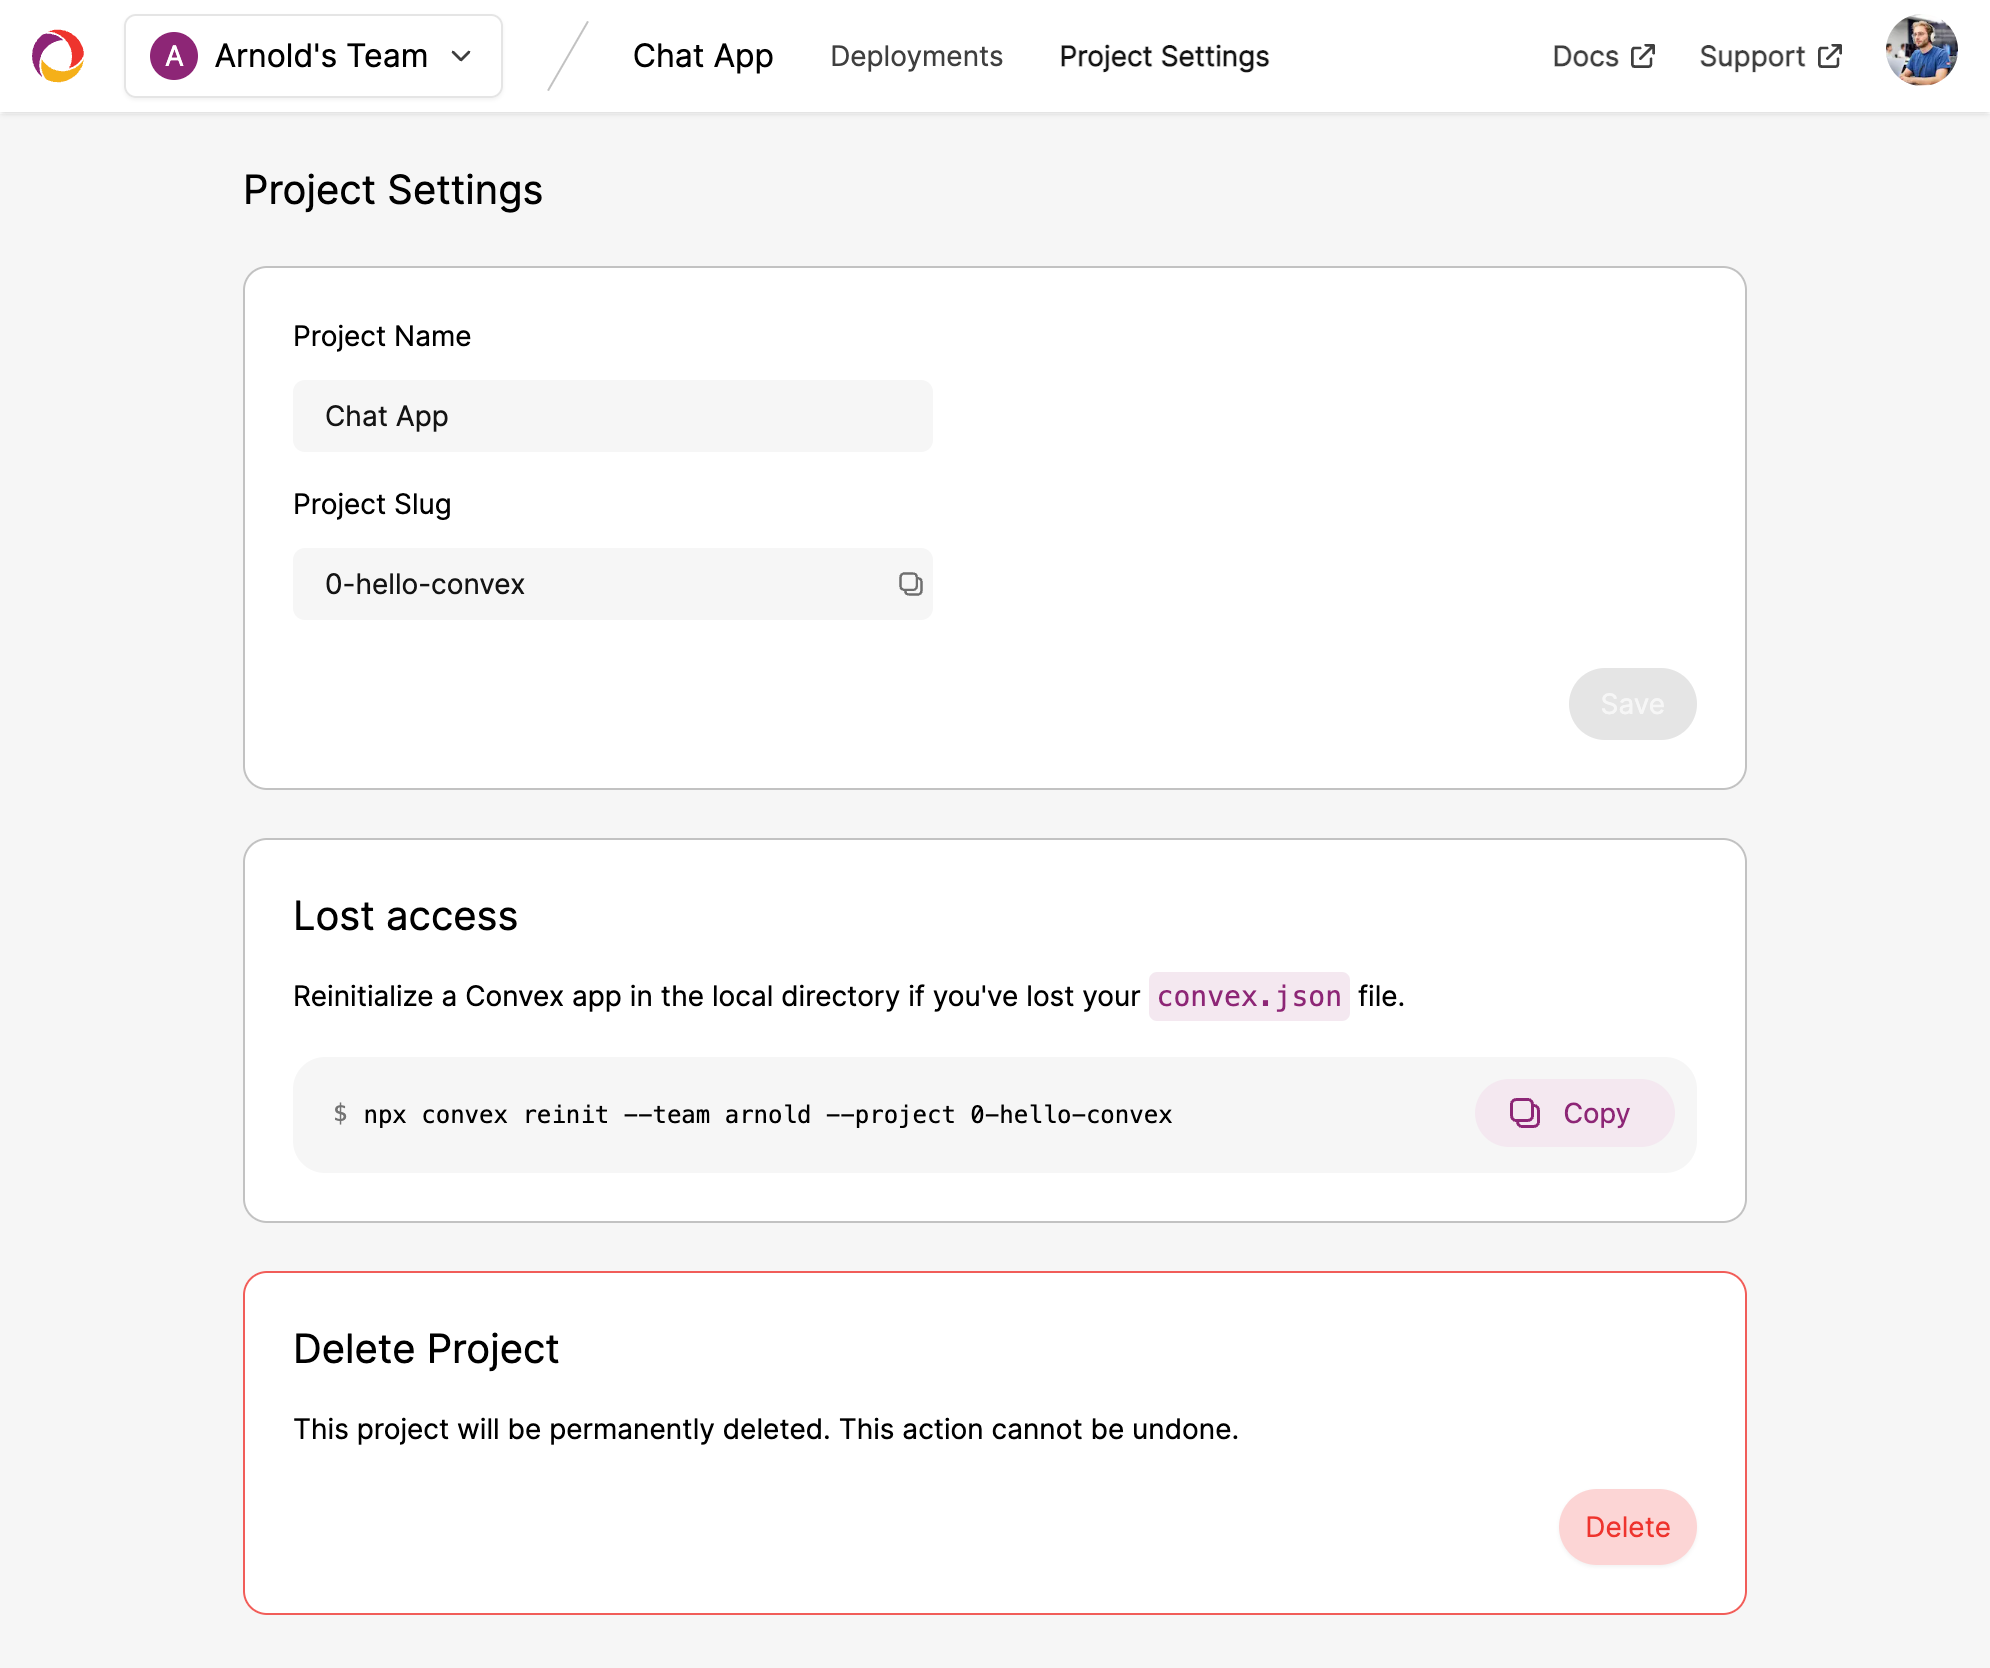
Now, project and deployment settings are located on separate pages. To find the project-level settings (like renaming or deleting your project) click the “Project Settings” button on the top of the page.
Click the existing “Settings” button in the sidebar to edit the deployment-level settings.